
DIY Masonry Projects: How to Lay Bricks Like a Pro
HS
Getting Started with DIY Masonry
Embarking on a DIY masonry project can be both rewarding and cost-effective. Whether you're building a garden wall or enhancing your patio with some brickwork, laying bricks like a pro requires patience, the right tools, and a bit of know-how. Before you start, make sure you have all the necessary materials, including bricks, mortar, a trowel, and a spirit level.

Preparing Your Workspace
Preparation is key to any successful masonry project. Begin by selecting a flat, dry area for your workspace. Clear away any debris and ensure the surface is stable. Mark the area where your brick structure will stand using stakes and string lines. This will serve as a guide to keep your work straight and even.
Next, mix your mortar. A common ratio is one part cement to four parts sand. Add water gradually until you achieve a thick, creamy consistency. Remember, mortar should be used within two hours of mixing for best results.
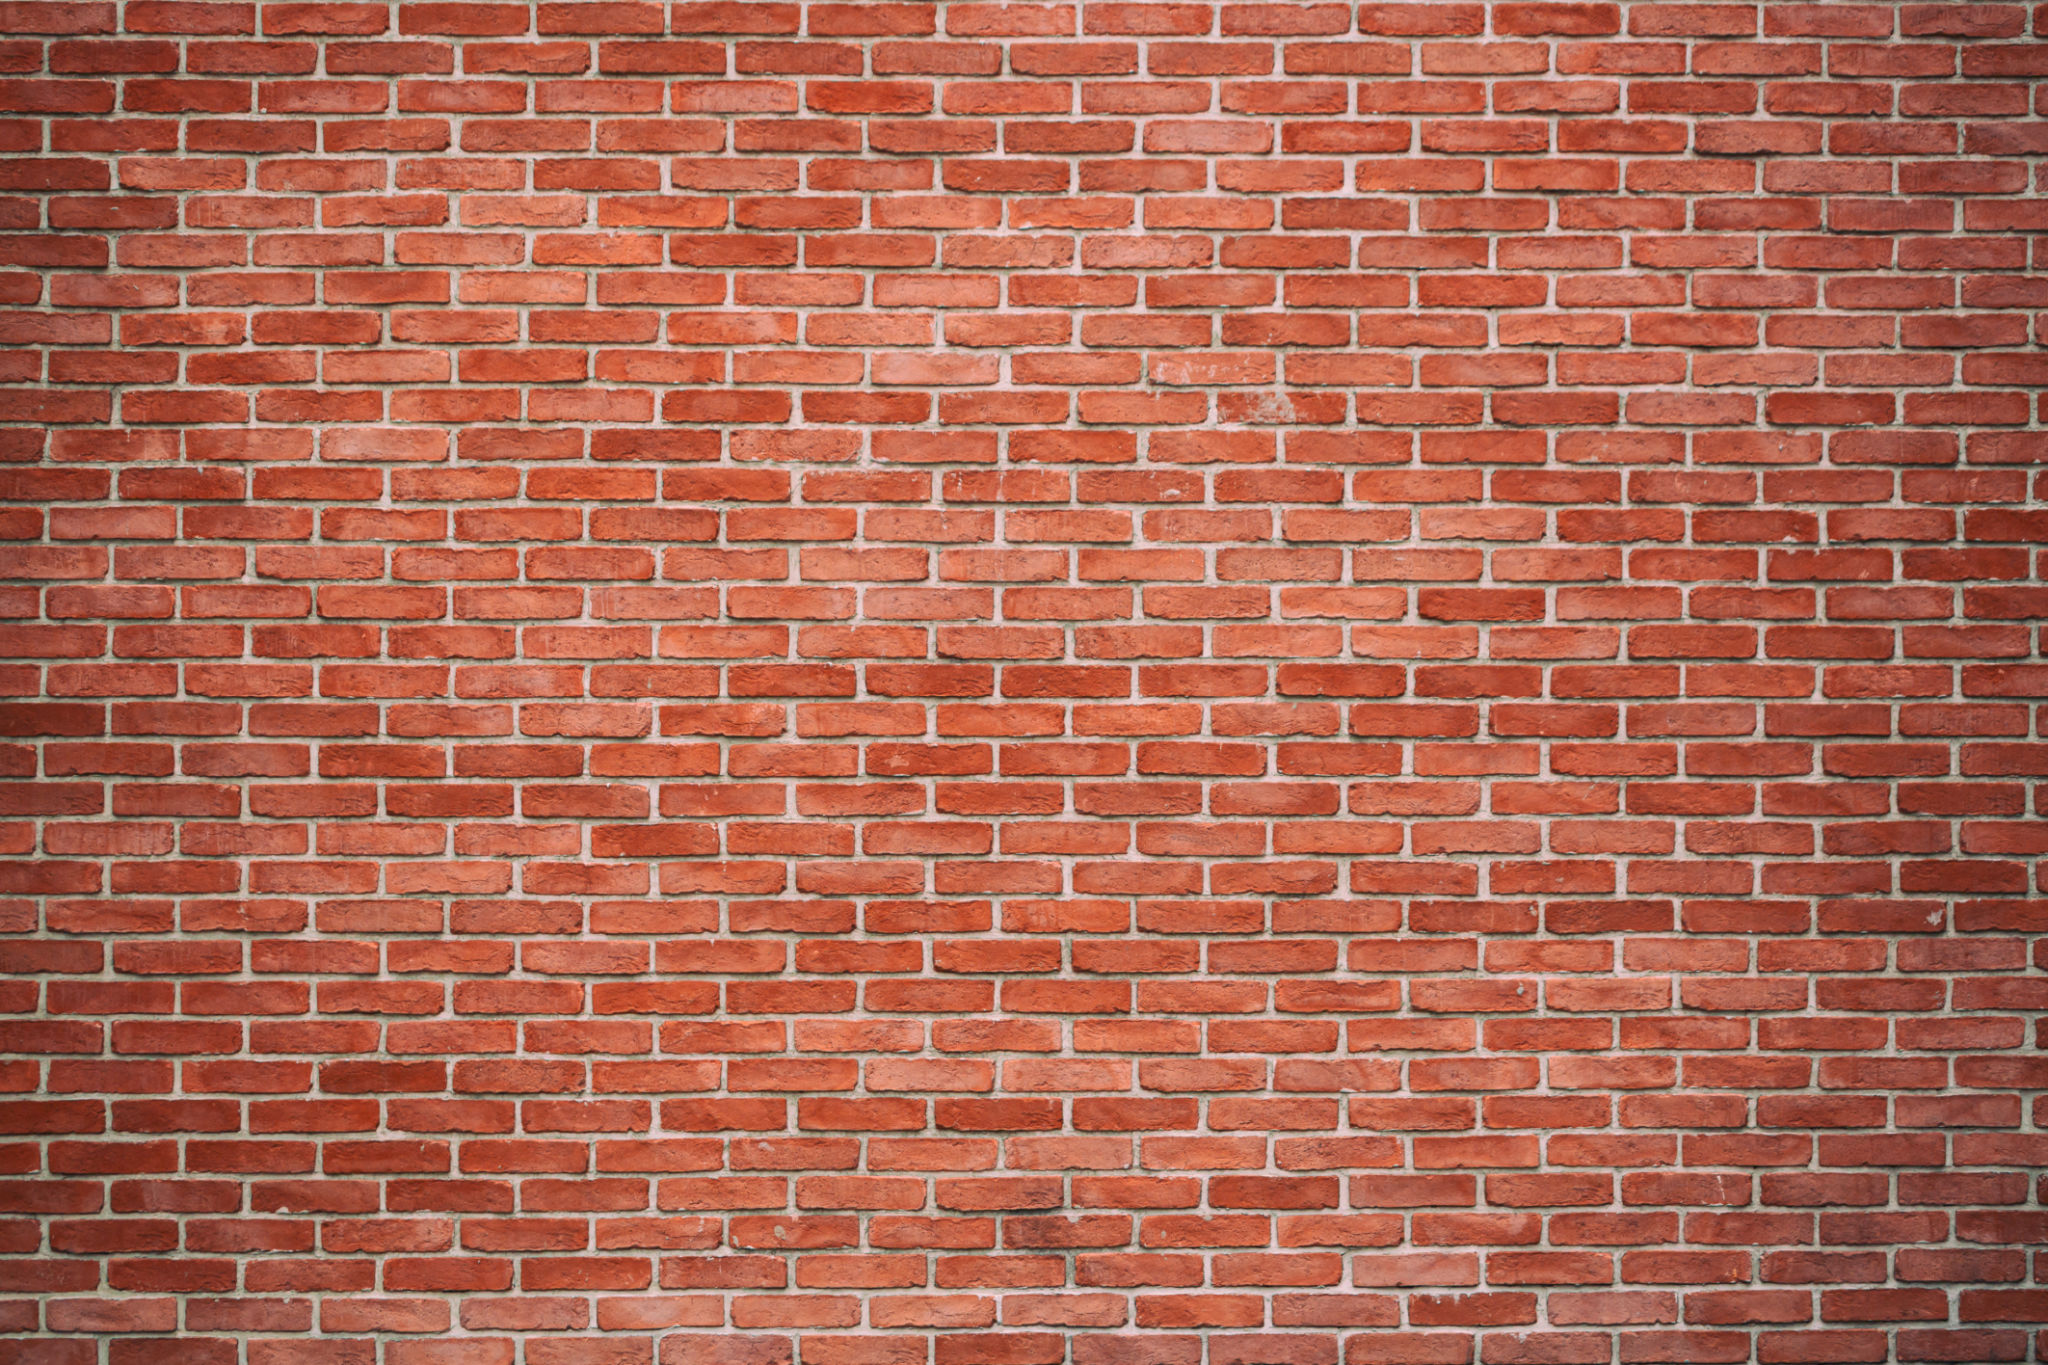
Laying the First Course
The first course of bricks is crucial as it sets the foundation for the rest of your structure. Spread a layer of mortar on the base using your trowel. Lay the first brick at one end, pressing it firmly into place. Use a spirit level to ensure it's perfectly horizontal.
Continue laying bricks along the line, applying mortar between each one and checking alignment frequently. Use your trowel to remove any excess mortar that squeezes out between the bricks.
Building Up with Precision
As you build upwards, stagger the bricks in a running bond pattern for stability. This means the end of each brick should align with the middle of the brick below it. Use a string line to keep your courses straight and level.
- Apply a generous layer of mortar on top of the base row.
- Place the next row of bricks, pressing them down firmly into the mortar.
- Check each brick with a spirit level to maintain a straight line.

Finishing Touches
Once all the bricks are laid, it's time to finish your project. Use a jointing tool to smooth out the mortar joints for a clean appearance. This not only enhances the visual appeal but also strengthens the structure by sealing gaps.
Allow your masonry work to cure slowly. Avoid rushing this process, as rapid drying can lead to cracks. Consider covering your work with plastic sheeting if rain is expected or if working in extreme heat.
Maintaining Your Brickwork
Regular maintenance is essential to keep your brickwork looking fresh and sturdy. Inspect it periodically for any signs of damage or wear. Minor cracks can often be repaired with a little extra mortar.
By following these steps and tips, you can achieve professional-looking brickwork that stands the test of time. With practice and patience, you'll master the art of laying bricks like a pro in no time.